Are you like me and start obsessing over your small child’s Halloween costume in early August? Does said small child also have absolutely no idea what’s going on but it’s extremely important to you?
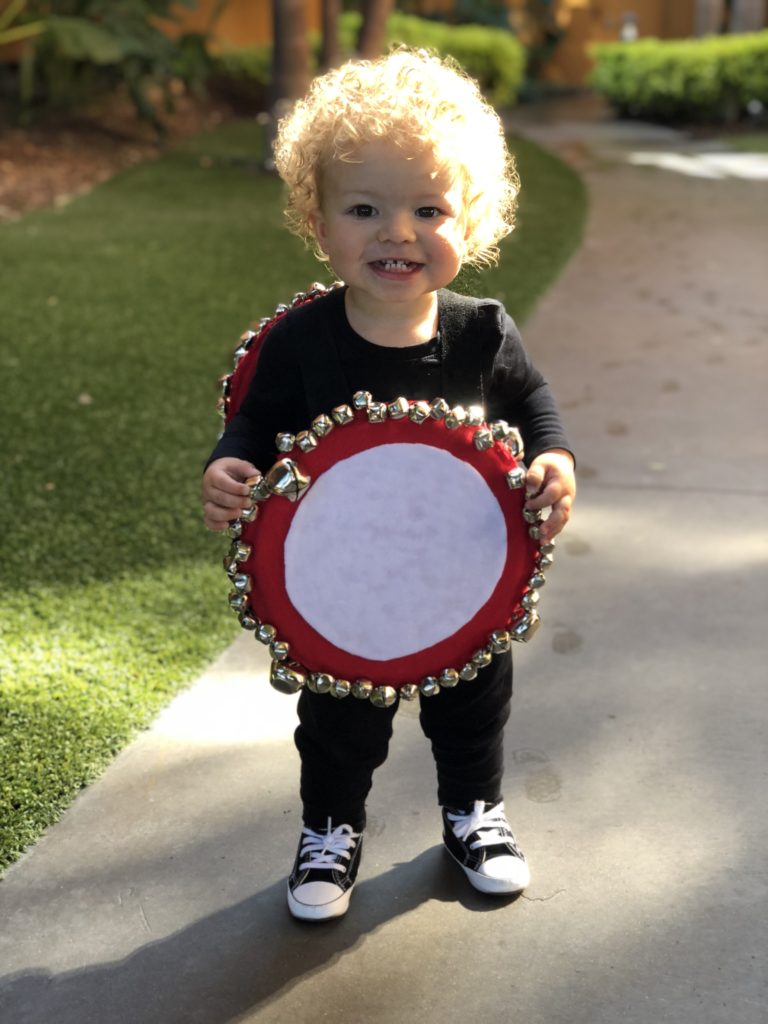
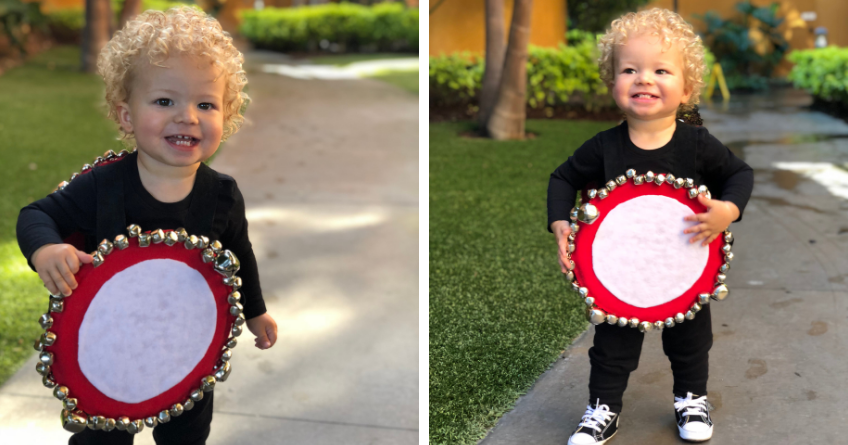
Cool! We’re just alike and so I’m sure you also want to make your own tambourine costume. It may be DIY, but I’m here to tell you, it is NOT last-minute and NOT easy, but come on– look at how proud Malcolm is!
When I’m planning Malcolm’s Halloween costume, I always try to think of what he loves most. When he was teeny, I assumed that was Ella. Last year I faced more of a challenge since Malcolm’s greatest loves were balls and any and all musical instruments.
After hours of obsession, my mom helped me out by coming up with a tambourine. Not being innately crafty, I scoured the internet for a tambourine costume I could purchase or the easiest step by step process and I found absolutely nothing.
So, dear ambitious parents of the internet. If you too would like to spend $120 and 8 hours sewing on tiny bells, here is a guide to help you!
As previously mentioned, I have never considered myself good at crafts. I have realized, however, that with enough pinterest stalking, patience, and hours and hours of starts and stops anyone can become good at crafts! You can do it. I promise!
Every time I thought I had a plan for this costume, I discovered new challenges, so let me solve these problems for you.
Step 1: Collect your supplies.
Apparently you do not need three yards of fabric for a small child’s costume- who would have known! Here’s what I needed:
- Enough cardboard to cut into the two circles of the tambourine (I used an old pampers box)
- White felt (very little, oops)
- Felt in your tambourine color of choice (red for us!)
- Tambourine colored thread & needles
- Black strips – I used a suede-like material. Something sturdier than felt
- Velcro strips
- Fabric glue
- 90 bells lol I’m not kidding
- Buckets of patience!
- A black tee and black leggings- Primary is the best!
Step 2: Cut your cardboard and felt circles.
I literally just started laughing remembering this part. I (and most people) can not easily cut a perfect circle. Warren came up with thumbtacking another piece of cardboard (ours was cut from diet coke box) the length of my desired radius into the center of the desired circle space, then putting a pencil to the tip of it and guiding it around to make the full circle.
Stop it, why did I invest this much time in this, I CANNOT.
Then I had to do the same for the white circles with a smaller radius. The red circles didn’t need as much precision since I was sewing them. They did, however, need to be bigger than the cardboard so I could sew them over the cardboard.
Step 3: Cut your straps.
This whole thing had a sandwich board concept to it but I soon realized that Malcolm’s huge head and tiny shoulders would make it impossible to make straps that could go over his head and stay on his shoulders at the same time.
So I had to make them two separate halves and use velcro to strap him into it each time. Measure your kiddo and get the right length – I used side and shoulder straps for more security.
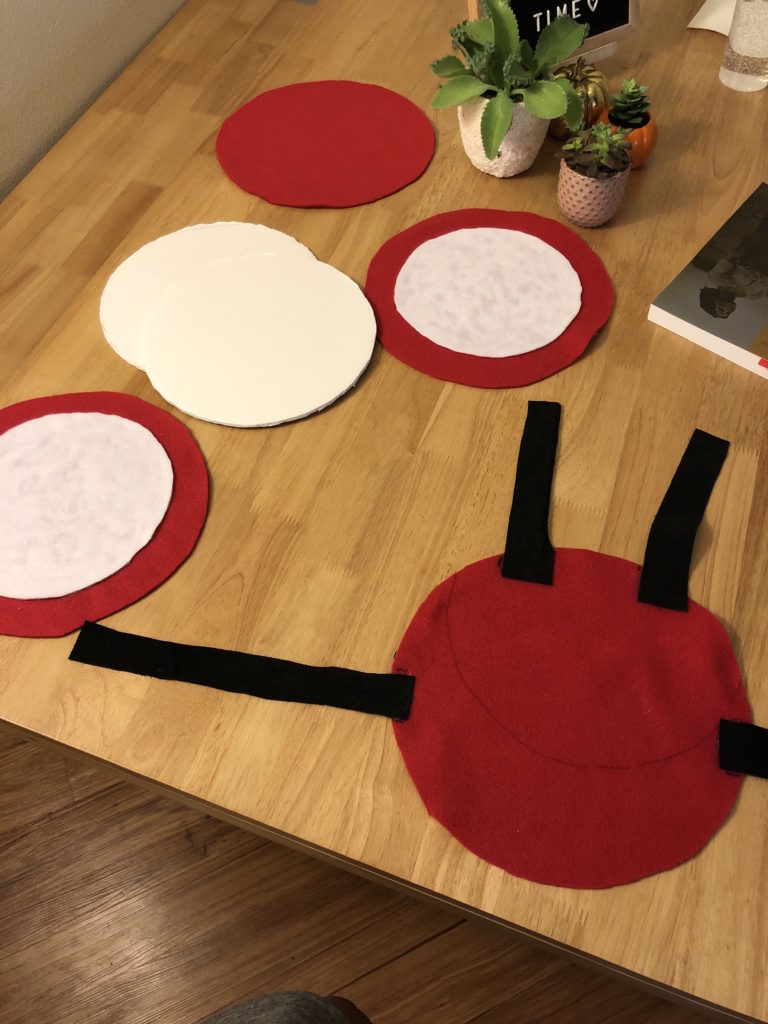
Step 4: Glue your shoulder straps and velcro strips on.
Sturdy fabric is not for the faint of heart–sewing through that wasn’t happening. Fabric glue to the rescue! By the way, many of these steps require 24 hours of drying time, have you realized yet this was a huge time suck?
Step 5: Glue your tambourine together!
Alright, so you’ve got the back red piece (one of which has the straps attached). Then you glue the cardboard on top of it and the next red circle on top of that. Put the white circles on the outside for your last bit of gluing.
Let that dry overnight too.
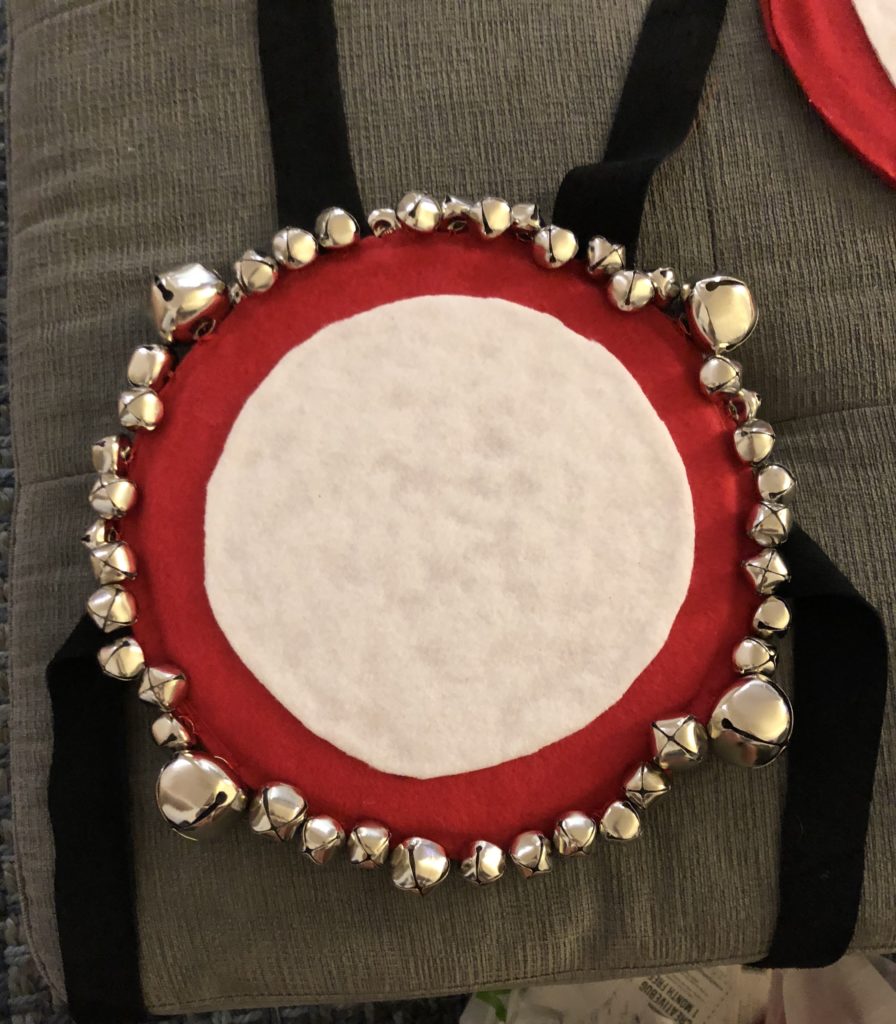
Step 6: Settle in for some quality sewing time. It’s bell time!
I got a variety of bells- mostly little bells, four big bells per side, and eight medium bells per side.
Then, you basically just… start sewing on bells until you think you’re going to die?
In sewing these around the edge, you’ll also help secure the red circles together. After about 20 bells you’ll start to figure out how many stitches you need per bell. Double that. (No, for real- there’s going to be a lot of jiggling.)
Eventually, I got so fast that it only took me five minutes a bell by the end. Were there 90 bells? YES, THERE WERE.
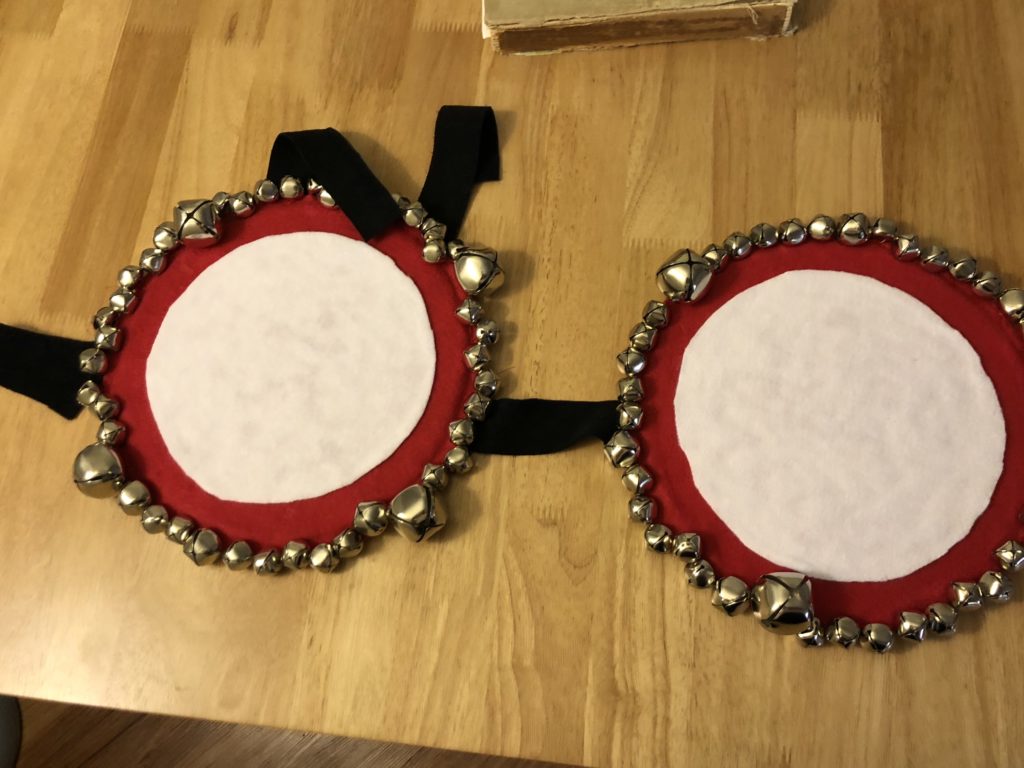
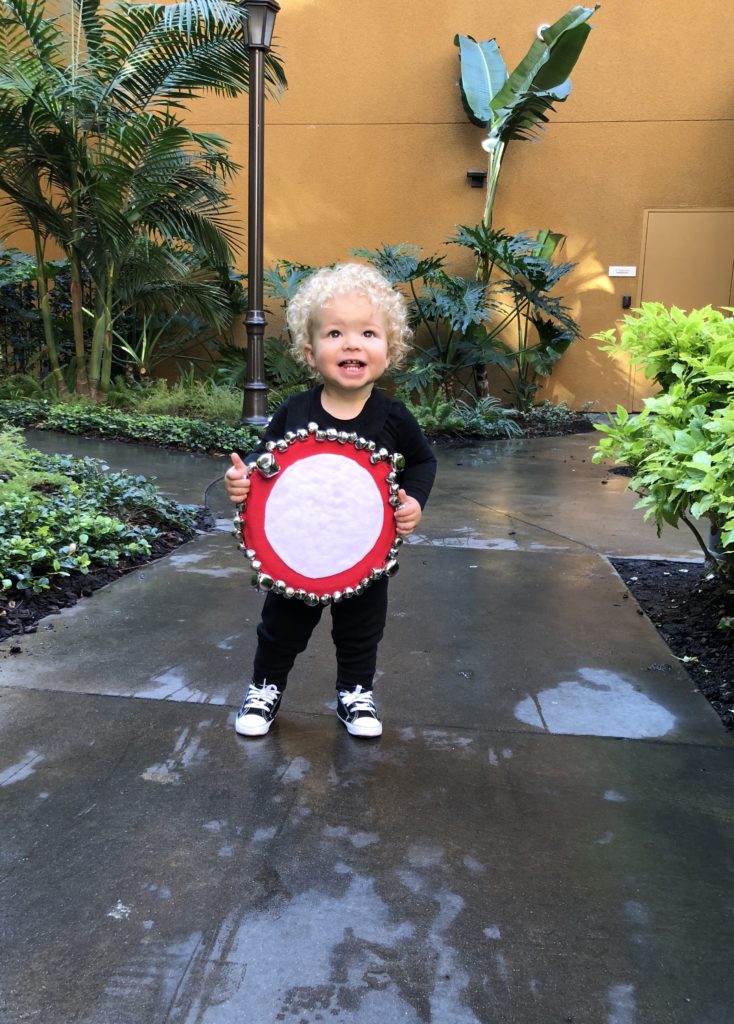
GUYS. GUYS. If you’ve done all these steps, you now have a tambourine costume! You’re amazing! Your kid is amazing! Everyone will love it!
Writing this and remembering how much time, money, and effort went into it is making me laugh so hard. In some ways, it seems like a waste of all of those. But it’s one of my very favorite memories. I loved hearing Malcolm jingle all over. He was thrilled! And I made that happen!
Sometimes the silliest things are the most magical.
P.s. I have 100% peaked as a mom, I’m so screwed.